A new bathroom fitted by a professional will give you many years of service, especially if you clean it properly regularly.
Your bathroom will, however, require some maintenance from time to time, and part of this maintenance will be replacing silicone sealant.
Silicone Sealant forms a waterproof adhesive bond around your bath shower base, toilet and basin the sealant helps keep everything in place while keeping water away from unwanted areas.
While sealant can last up to 20 years, it will always wear out before your bathroom does, and will at some point need replacing.
Removing and replacing silicone sealant can be a messy job (and takes time) if you don’t feel like doing it yourself our bathroom fitter can do it for you if however, you would like to give it a go read on.
The first part of the job is removing old silicone. Never apply new silicone over the top of old silicone it’ll look untidy and probably won’t create the essential watertight adhesive seal.
Always remove old silicone before applying new silicone, you’ll regret it if you don’t.
Tools You’ll Need
- Stanly Knife
- Scraper (metal or plastic)
- Heavy Duty Gloves
- Sealant Gun
- Tube Of Sealant
- Old Clothes/Workwear
- Smooth Cloth
How To Remove Old Silicone
- Get a Stanley knife with a sharp blade some heavy-duty gloves are also recommended to minimise the risk of cutting yourself.
- Run the Stanley knife along the silicone carefully along the wall make sure you don’t cut into the surface of your bath/tiles etc
- Once cut push a metal or plastic scraper into the cut, move the blade up and down until the silicone comes loose
- Repeat this along the whole length; you can pull parts out with your fingers if required
- Once you have the bulk of silicone out, they’ll be stubborn parts leftover remove these individually
- Once all the silicone’s removed, you’ll notice residue in places run over this with some white spirit on a cloth until all the stickiness is gone and the length is clean
How To Replace Silicone Sealant
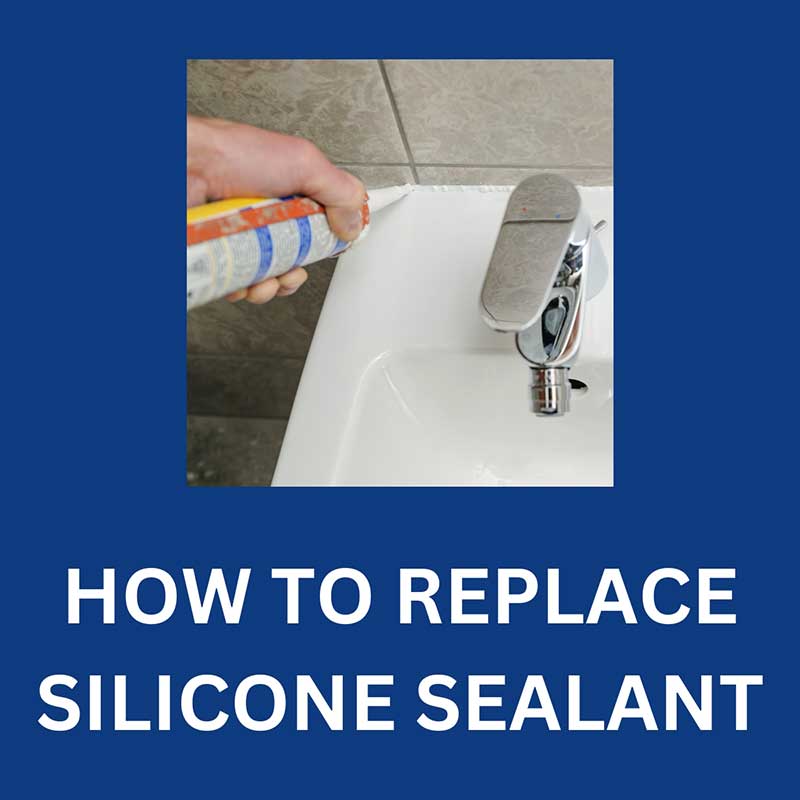
- Now you need to fill the gap with new silicone get a sealant gun and load with a tube of silicone sealant
- Unscrew the nozzle, and cut off the cap above the thread this allows the silicone to come out of the sealed tube, don’t cut into the thread itself otherwise, the nozzle might not screw on properly.
- Screw on the nozzle and cut the top of the nozzle at the required thickness of silicone sealant, the more you cut off the fatter the line of silicone will be and the faster (and easier it will come out of the gun) don’t cut off to much.
- Hold the gun parallel with the joint then place the nozzle at the start of the joint.
- Squeeze the trigger slowly until the silicone starts coming out the end of the nozzle now move the nozzle along the joint slowly filling it as you go, keep squeezing the trigger as necessary to keep the pressure up and the silicone coming out.
- Keep going until you reach the end of the joint
- Wet your index finger and run it along the joint to push the silicone in and create the desired finish. Alternatively, you can use a smooth wet cloth over the end of your finger (some people don’t like silicone on their skin)
- Wipe away any excess and allow to dry
- When dry you can further neaten any untidy areas with a Stanley knife
- Repeat this procedure as necessary on every joint in your kitchen/bathroom

Hi, I’m Terry, the founder and owner of TM Hughes & Son Gas Services
Please get in touch to book an appointment or receive a free, no-obligation quote
Call – 01245 830075
Email – info@tmhughesandson.uk
